


How To Install LED Lights in Car by Yourself- Guide 2022
Install LED Lights in Car by Yourself
If you have seen anyone sport a cool set of LED lights on their ride and felt envious, then you are not alone. Not only do these lights enhance the looks of your car, but they are also more energy efficient than their halogen counterparts.
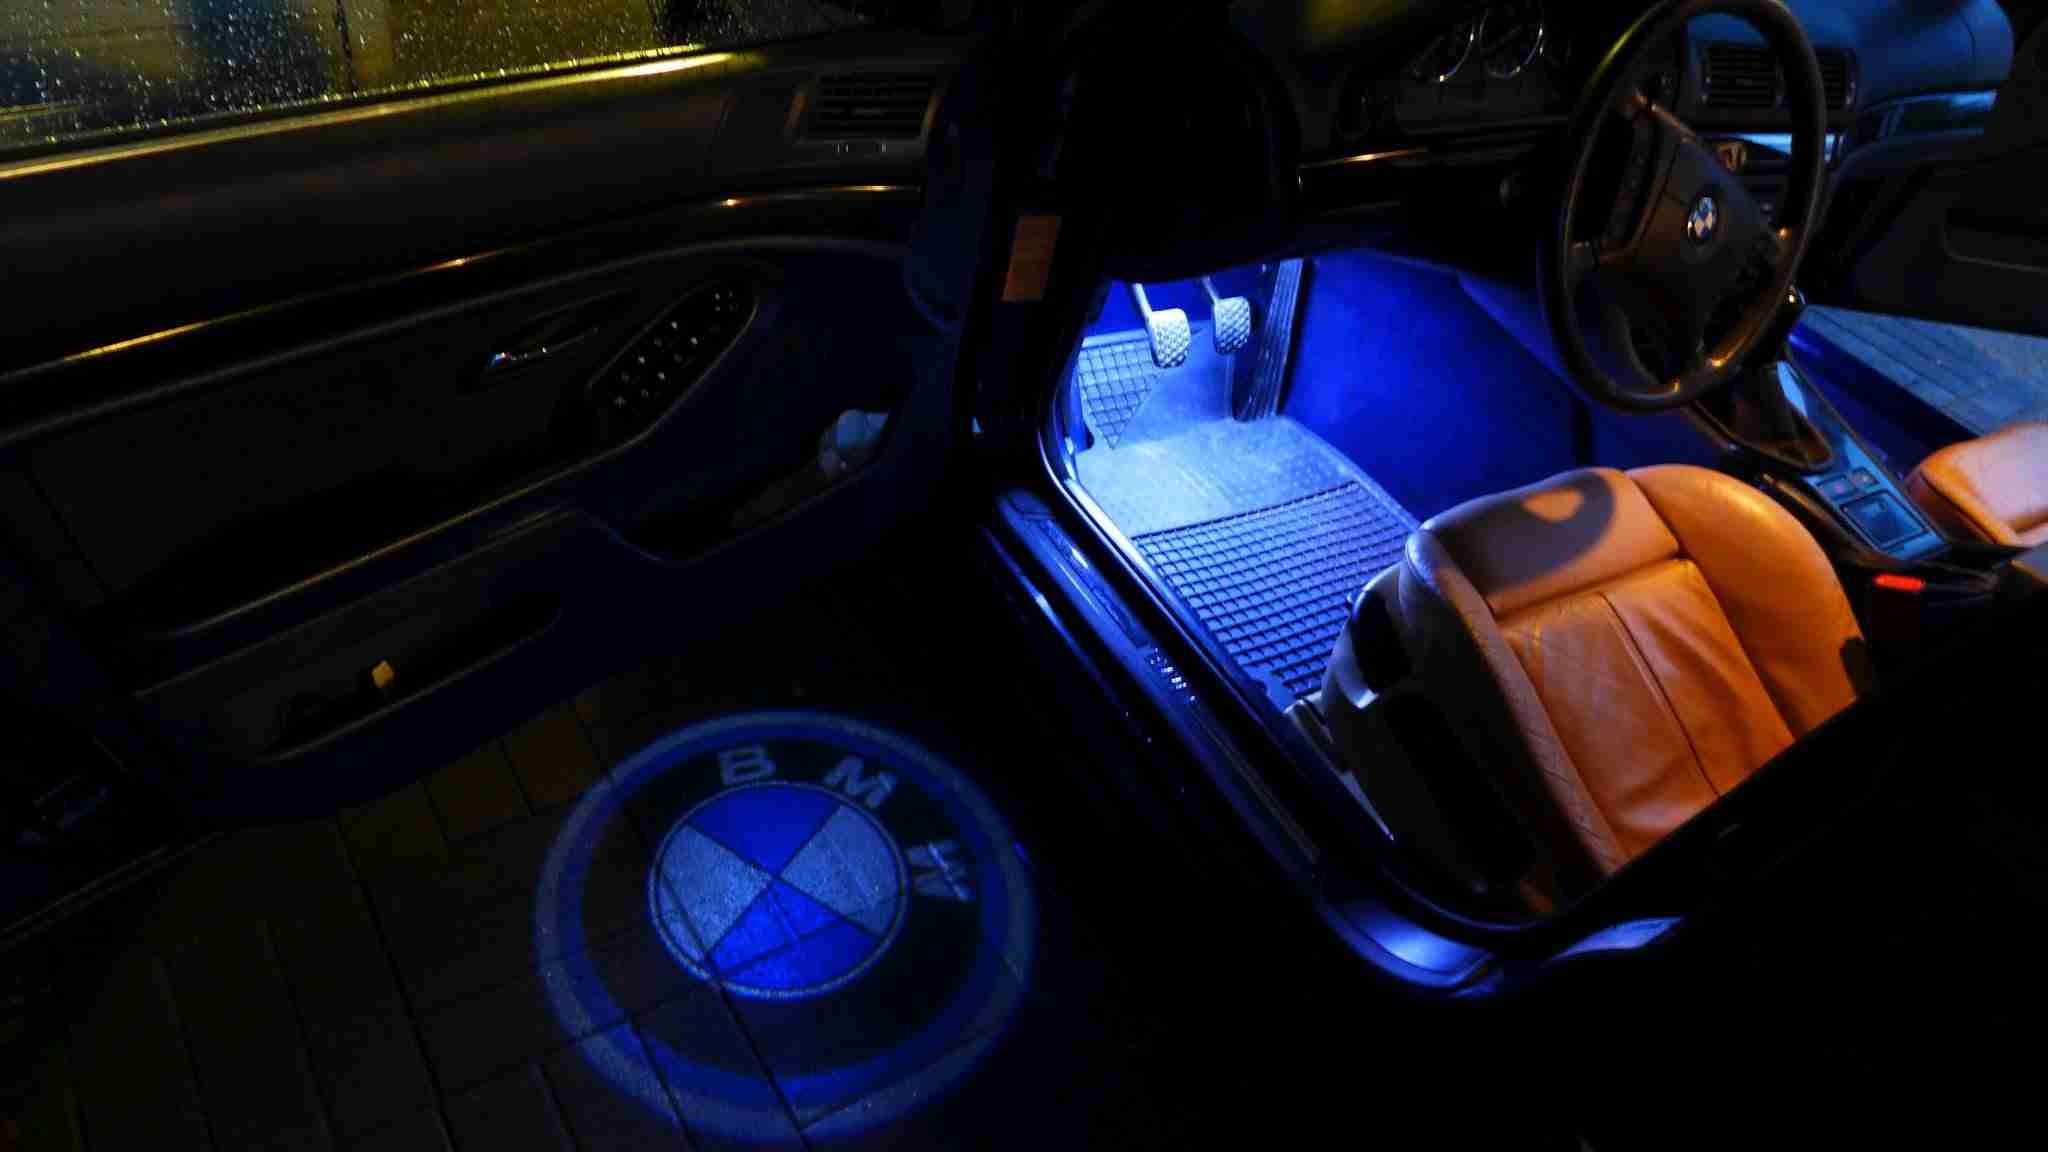
Not to mention, the customization options that you get are also worth your penny. Whether you like a cool earthly green or gloomy blue interior lighting, you can have it all as per your preference.
But wait, what kind of LED lights do you want? Driving LED lamps? Underbody LEDs or Interior stripes?
Confused?
Lucky for you, you have landed on the right page. In this extensive guide, we will walk you through the detailed process of how to install led lights in a car.

Know the fundamentals before you start
Custom interior lights are bifurcated into the following varieties :
- Door lights : These lights help increase the illumination across your doors and also come in very handy when reaching out to the window controls. You can also install a logo light on your door to show off the brand of your car.
- Dome lights : These lights typically show up in the front and rear end of your car when you close/open the door. This way, you can add a stylish touch which is visible whenever someone enters your car.
- Trunk lights : As the name suggests, these lights amplify the look of your trunk and also enhance visibility when you unload anything off your trunk.
- Accent lights : These lights can fit in anywhere on your vehicle interior (dashboard, under seats, backseats etc) to further accentuate the appeal. You can try and mix a variety of colors in order to get the best look possible.
- Map lights : These lights help you improve readability inside your cabin in case you like to read or carry a map along for your road trips.
Pre-requisites
- Multimeter for calculating the voltage
- Screwdrivers and pliers which can cut wires
- Crimp connector/crimping tool
- Electrical tape
- Glue which can dry quickly
- Small adapters
- Wire ties (to hold the wires together and give a clean look)
Driving lights have a watt-hour rating which indicates how bright they can get. The higher the wattage, the brighter they will glow.
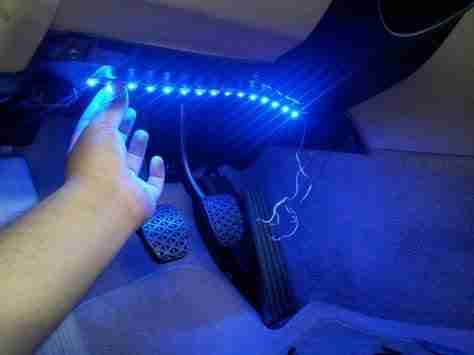
Installing interior LED lights
Installation can be pretty straightforward if done correctly. It is a three step process which starts with connecting the controller to a ground power source and placing the light strips in their designated location followed by testing the lights for apt functionality.
Wiring
If you want these lights to turn on and off with the ignition, then you will have to hardwire them. To connect the set with a 12V supply, you can place it in the following places :
- At the fuse box
- Near the stereo in the car
- Cigarette lighter socket
For tapping off the fuse box, you can get a fuse wiring adapter or connect a power source to the fuse box. To check the fuse power, simply turn on the ignition and use the meter to find one that is functional. Once you are through with this, join the LED powered wire with a fuse tap adapter. Make sure you join all the control wires together and ground the negative power wire as well.
Strip allocation
Here’s a diagram which will help you know more about the traditional strip positions in cars. Now mount the light strips behind the dashboard and on the edges of seats as per your liking. Use some tape to hold them in place before you permanently install them.
Now set up the controller and place it near the driver’s seat where it can detect sound without any difficulty. Make sure you place the control box in an open area so that the signals aren’t blocked.
If you have a strip-wire set that features self-adhesive tape on the back, then well and good. Else, use a high-quality adhesive, wire ties and some brackets/wire links to fasten the light strips to vehicle wiring units.
Drop about 3-4 drops of any sturdy glue on each light strip and place them on the surface. Make sure you have gotten rid of all the dirt and grime from the surface before administering this step so that the glue sticks properly.
Repeat the same process with the seats and use Velcro instead of adhesive this time to prevent any damage. Now let the glue dry and press the controller switch to test the system.
Here are some additional resources that will make the process easier for you.
Installing LED underbody car lights
First off, start by gently removing all the dirt and mud from wherever you have to place these lights. Use a controlling jack to lift up your car followed by sliding in underneath the surface and getting rid of any dust or mud.
Note : This step is optional and you can also perform a manual cleaning cycle if you don’t have a hydraulic jack.
Secure the LED strip underneath the vehicle using zip-ties. Look for any bolts and brackets where you can hook the lights.
Place a zip tie for every 12 inches of strip and also use a double sided tape wherever you see a hanging end. Now extend the wires onto the engine bay and connect them with the module box.
Various brands also offer extension wires with their package which can be used if the strips on the rear end are out of your reach. Now connect the red wire to the positive of the battery and black to the negative end.
The module box should be placed slightly away from the battery to avoid any damage. It’s position should be in a place which is away from any water exposure.
Now test your strip and ensure that there is no clunking sound when you drive.
Installing driving lights
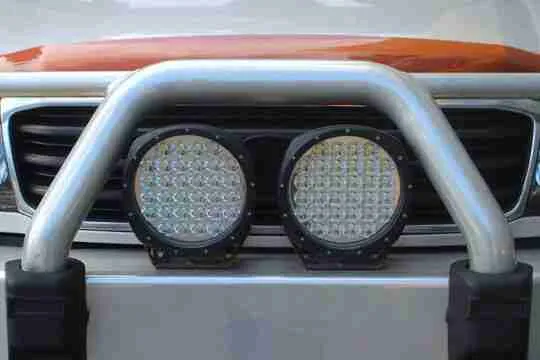
Take a light mounting bar and attach it to your front fender. Since most driving lights already come with a wiring loom kit, assembly shouldn’t be difficult.
In case you miss out on the installation kit, you can purchase the stuff individually which includes :
- Dashboard switch
- A fuse
- T-piece connector
- Wiring as per the length of your car
Most modern vehicles have an additional compartment for mounting extra switches, however you can also drill a hole on your dashboard if you want to change the placement.
Now allocate the relay to the engine bay while keeping it close to the battery and away from any regions prone to engine heat or exhaust.
Now run the wire across the bottom of your chassis connecting one terminal of the dashboard to the high-beam wire of your vehicle’s headlamp. This is where you have to use the connector in order to join these wires.
Ensure that each light is connected to an earthing point via a ground wire and secure all connections using double sided tapes and zip ties.
Lastly, test the operation of the high beam and the dashboard switch to ensure proper functionality. You can also tweak the height and position of the beams as per your liking once you are through with the wiring.
Tighten all the bolts and you are good to go.
FAQs
Are interior car LEDs illegal?
Every state has almost similar restrictions when it comes to installing LED lights. The legality part depends on the intensity, color and brightness of the lights used. Most users also stick to a bluish-white shade which mimics the conventional color of headlights to avoid any trouble.
Furthermore, you can dawn white and yellow shades with an under glow of all colors with the exception of red. Blue is also not allowed in some states as it is only reserved for police vehicles.
How much does a good LED lighting setup cost?
With so many brands at play and energy efficient lights, you can get yourself a good quality set for as low as $100.
How many LED strips can be connected together?
Since a 12V battery can only power upto 3 strips, you can attach three end-to-end strips without worrying about a shortage.
Summing up
Aside from the benefits mentioned in the beginning, these lights usually never draw power from your battery unless you attach them and can easily last for 3-4 years. A good set of custom lights will also increase the resale value of your vehicle while allowing you to show off your personality through them.
When purchasing lights, you should also keep in mind that a larger vehicle will comparatively require more lights. Go for a brand that has plenty of positive reviews and offers good support.
Here are some of the best lighting strips you can get for your vehicle.
So what are you waiting for? Head over to your car and get started!


No Comment