


How to Remove Swirl Marks
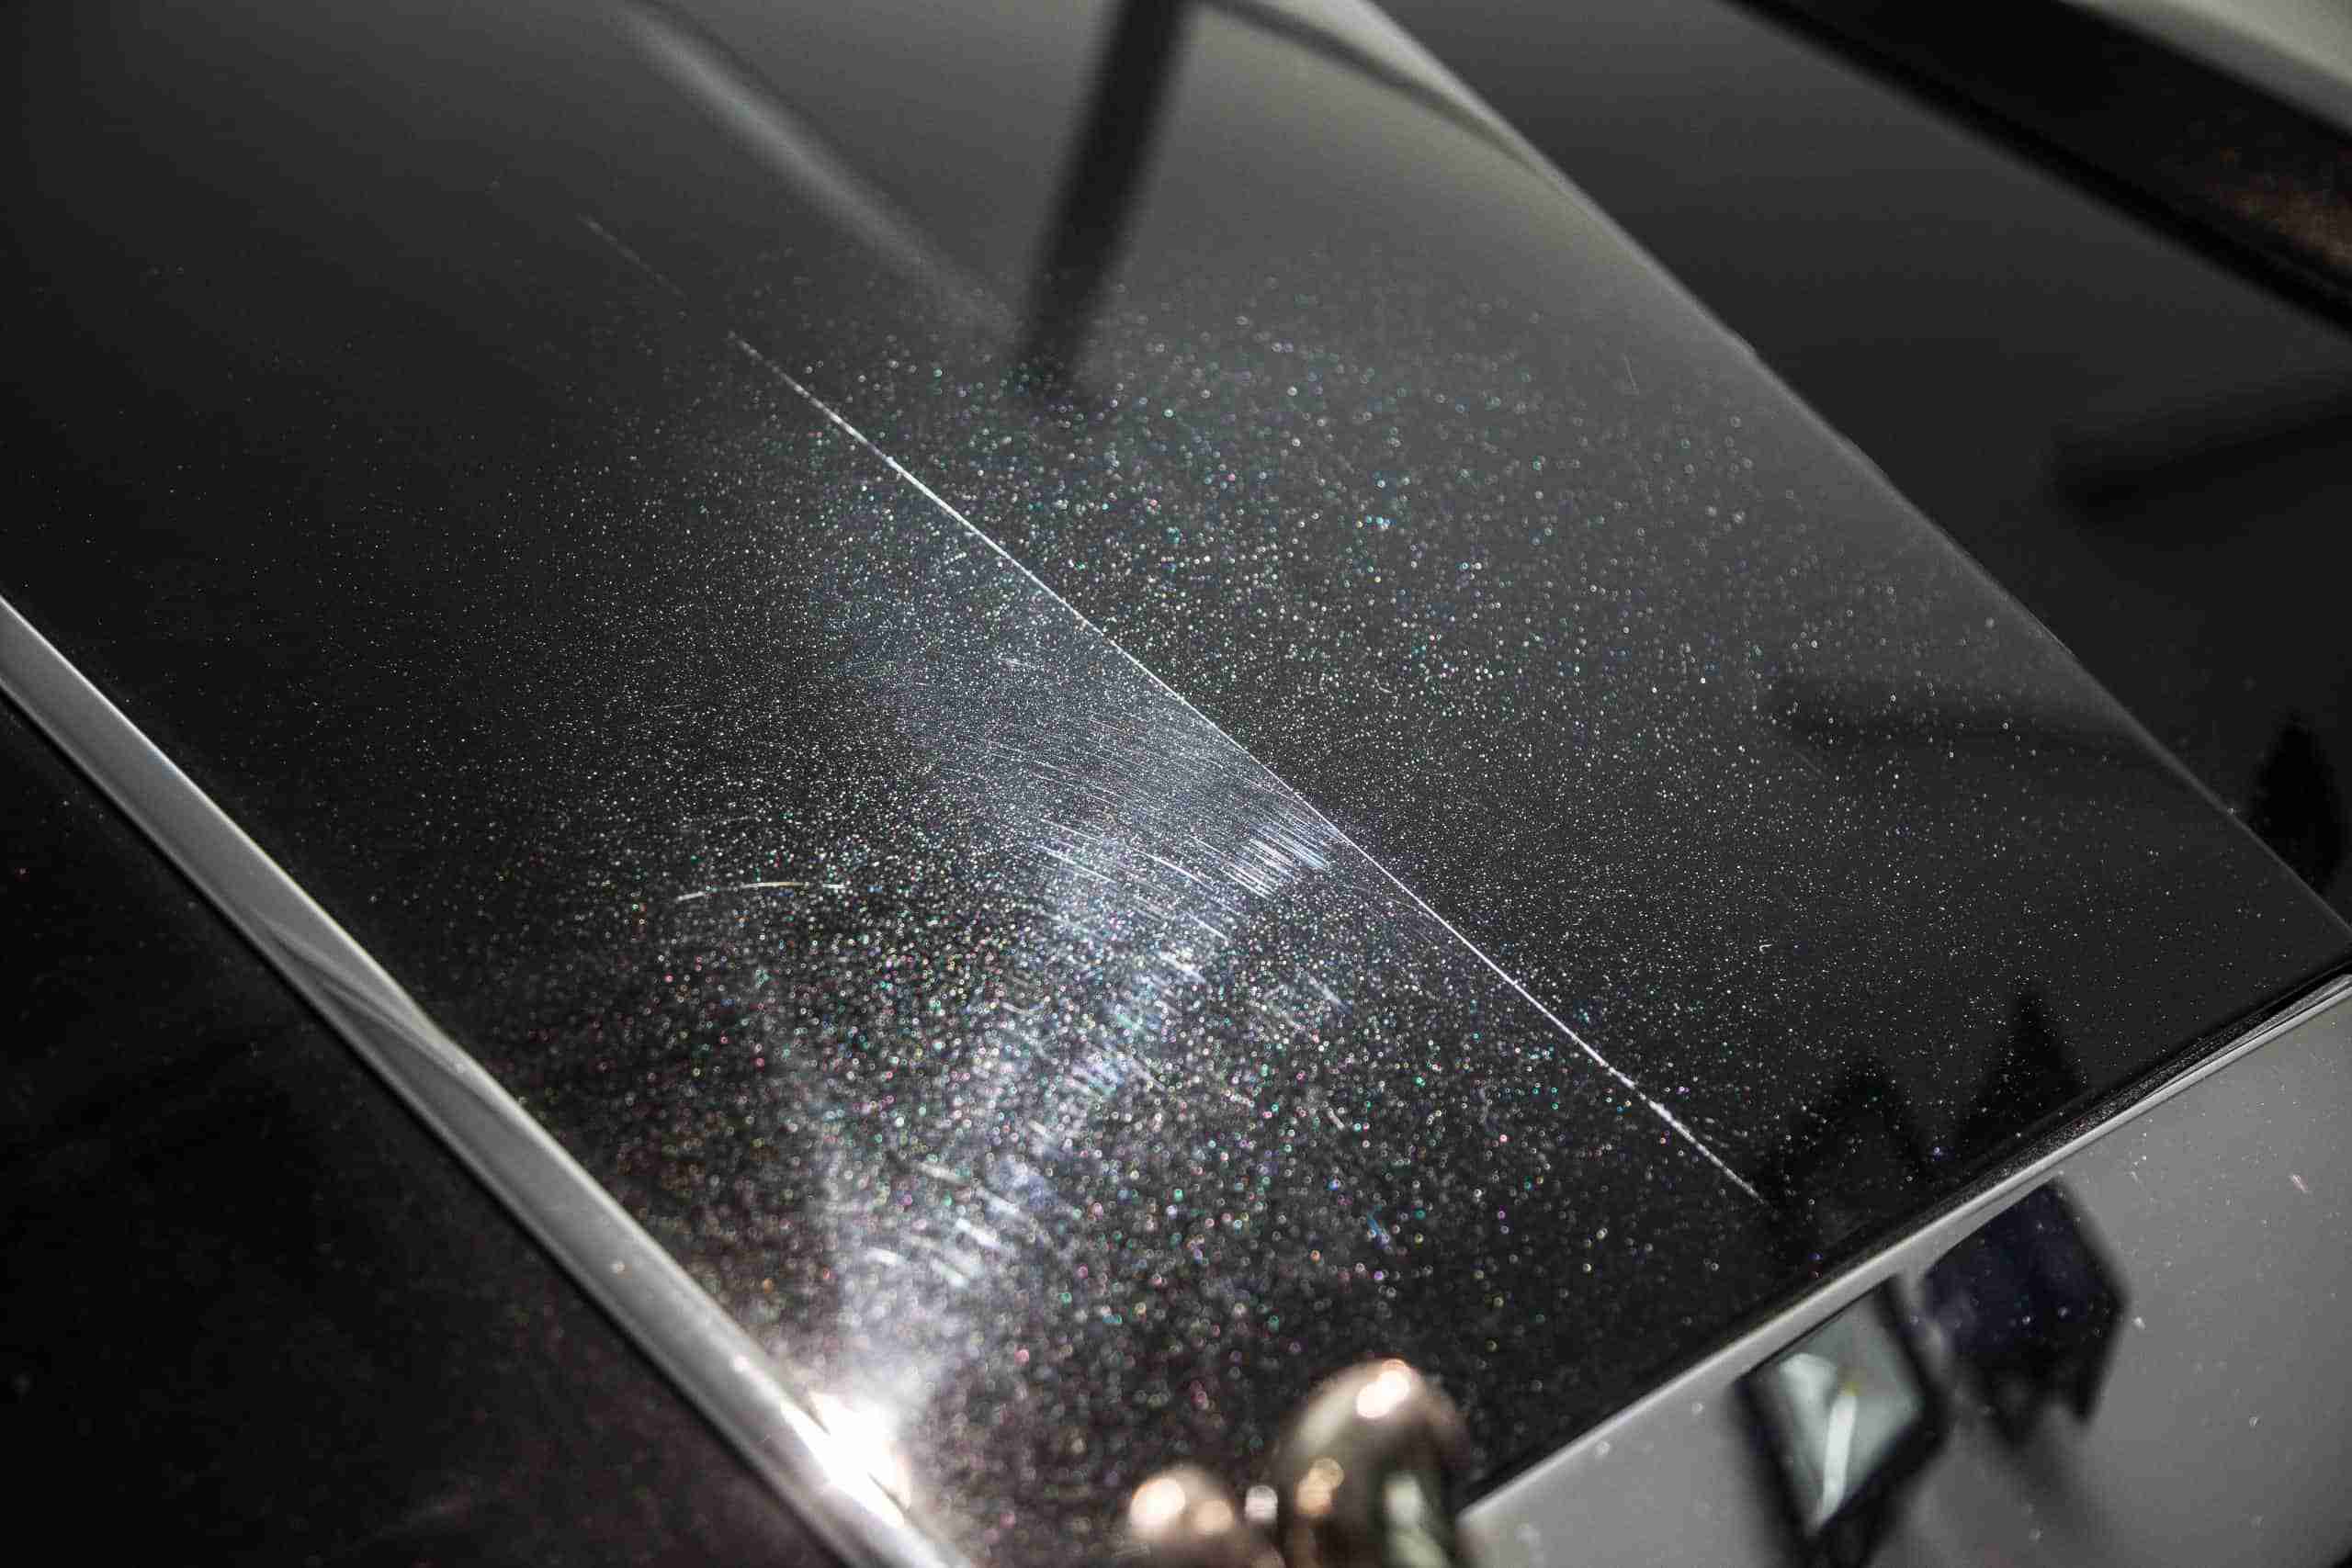
Swirl marks (also known as micro-marring) will make any car’s paint look awful and take away the desired bright finish. If you want to get rid of swirl marks and restore your car to its former glory, you are going to have to remove them by hand. The good news is, it’s easy!
What causes swirl marks
Many high-speed buffers, while they work wonders for minor scratches or heavy oxidation, can cause swirl marks when professional car detailers are unaware of how to properly use the tool.
This, however, is probably not your problem. The truth is, you are probably creating swirl marks every time you wash and wipe down your car. The severity often depends on the products and rags you use to clean the car. This is the most common cause of swirl marks.
How to remove swirl marks
It doesn’t matter if you’re dealing with extremely light or even very deep swirl marks, the best way to eradicate them is to polish the paint. Some other methods will serve to cover up the marks using paint fillers such as glazes.
While you may see great results if you use glazes and other scratch filling methods, the effects of the glaze will wear off after a heavy downpour or the first time you wash the car. This is why it’s important to fully remove the swirl marks instead of covering them up.
The first step to restore the smooth surface in the clear coat is to use an abrasive product to shave off a microscopic section of the paint. This will get rid of the part with the swirls and display the shiny paint underneath.
You can do this either by a machine or by hand. Machine polishing will get better results by far. However, it is not hard to cover up minor defects by hand. If your vehicle only has minor scratches, these can easily be removed by hand.
How to remove swirl marks by hand
The first step to remove swirl marks is getting a good polish that will do the job well. These can be found online or in auto parts stores. Next, you will need to wash the vehicle. It is important to follow a proper wash routine while doing this.
After the vehicle has been washed and allowed to dry, inspect the paint looking contaminants such as tar spots or asphalt. If the surface feels rough and you find these contaminants on the paint you will need to treat it with fallout remover, then glue and tar remover. Lastly, use a clay bar along with clay lubricant on the paint before applying polish. If you do not remove all contaminants from the surface of the paint, they will cause more scratches and swirls as you wipe the paint with polish.
The next step is to apply 3 or 4 pea-sized dots of polish to a clean applicator pad. Apply the polish to the car using small, overlapping circles. Work with one small section of the paint at a time. Don’t allow the polish to dry on the paint. Wipe the excess polish off immediately using a clean microfiber towel. Then, turn the towel over and buff the surface to reveal a glimmering finish.
Once you’re done, use a flashlight to inspect the finish if you see signs of hairline scratches and swirls. You should apply more polish until they are gone. Make sure always to wipe the polish off after applying.
The last step is to apply a coat of wax or sealant. Remember, polishing should always come before the Last Stage Protection which may include wax, sealants, or ceramic coatings. These will protect the paint from further scratches.
How to remove swirl marks by machine
In order to remove swirl marks with a machine, you will need a dual-action polisher or a conventional rotary polisher. The dual action polisher is recommended over the conventional rotary polisher. Only polish a freshly washed and clayed surface. Again, this will prevent the creation of further marks in the paint.
Apply two or three pea-sized drops of polish in the pad and use a finger to spread the polish around the surface of the pad. Make sure you fully saturate it with polish but not too much. This will help prevent polish from flying everywhere as you apply it.
Turn the machine on and select a low speed. Begin polishing the flat surfaces before proceeding to the car doors and lower parts of the body. Make sure you work with a small section at any given time.
Slowly increase the speed of the polisher as you polish the finish. There is no specific time for this but a single section should be polished for approximately 30 seconds, deeper swirls are going to take longer to remove, so be patient. Next, remove any excess polish using a clean microfiber towel. Then turn the towel over and buff the paint for a nice shiny gloss.
Lastly, apply a layer of wax to seal the paint. Remove any waxy haze that you may see with a clean microfiber towel. Polishing with a machine polisher can be a daunting process but it is really straightforward. You may want to test the polisher on an old car panel that you pick up from any scrap yard.
When to polish a car
Polishing will remove a fine layer of the clear paint coat so you should polish your car not more than twice a year, ideally before the start of summer and winter seasons. Frequent polishing will eventually burn through the clear coat and cause permanent damage to the paint so it is not recommended.
In conclusion
It is not just a matter of when to polish. How you polish is equally if not more important. Every time you polish your car, start with a freshly washed and clayed surface with no debris on the car before polishing. Then carefully apply the polish either by hand or by machine. And lastly, protect your car with a coat of Last Stage Protectant.


No Comment