


How To Reprogram A Garage Door Opener
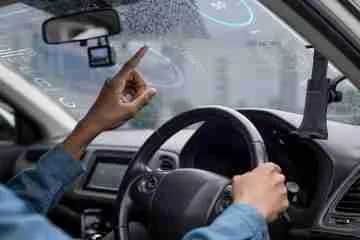
The opener for a garage door controls the opening and shutting from the comfort of your car. The importance of understanding the programming of your garage door is crucial for safety and privacy reasons.
Workings Of A Garage Door Remote
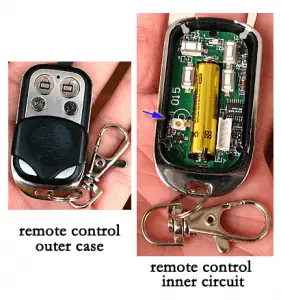
Older models of garage door remotes have small code keys that can go on or off. These sets of code keys are programmed in the garage door opener which in turn powers the door. Recent models of the remotes use a ‘rolling code’ mechanism. This model of garage door remotes works by transforming the code each time the remote is punched. Radio wavelengths permits the remote to get a signal across to the opener to open or close the garage door. The radio wavelength for a garage door remote is calculated in megahertz (MHz). The universal garage door remote radio wavelengths are within the following ranges:
- 300 Megahertz
- 310 Megahertz
- 315 Megahertz
- 318 Megahertz,
- 390 Megahertz
The radio wavelength for a garage door remote is often imprinted on the device.
Garage door openers can support up to five remotes and one keyless entry. This means that if a remote gets lost, you will have to delete the codes from your opener to make the addition of a new remote possible. Often, deleting remotes from the garage door system is done by punching the learn key in until the signal light stops flashing. This act will delete the remote codes; then you will have to follow the initial directions to re-program the device.
Dip Switch Garage Door Programming
If your garage door remote has dip switches, it automatically means your garage door remote and opener must sync to work successfully . Consequently, the dip switches are placed in the same place on both devices. In some cases, the garage door opener has no dip switches; in its place the opener will only have a learn key.
Even with the knowledge of the above, you shouldn’t repair your garage door just because of its make-up of mobile parts like the cords, springs, and track path. However, there are minor repairs that can be done yourself; for instance, reprogramming your opener, keyless entry pad, and remote.
Reasons For Reprogramming Your Opener
 There are numerous reasons why you might need to reprogram your garage entry pad or opener.
- If you have just moved into a new residence
- If you have given your code to an outsider; a service technician
- You have bought a new remote and need to sync it to your opener.
- If your garage door remote is lost or stolen
Whatever your reasons are it is not a cumbersome procedure to reprogram your opener and remotes.
Programming Your Opener to Your Remote
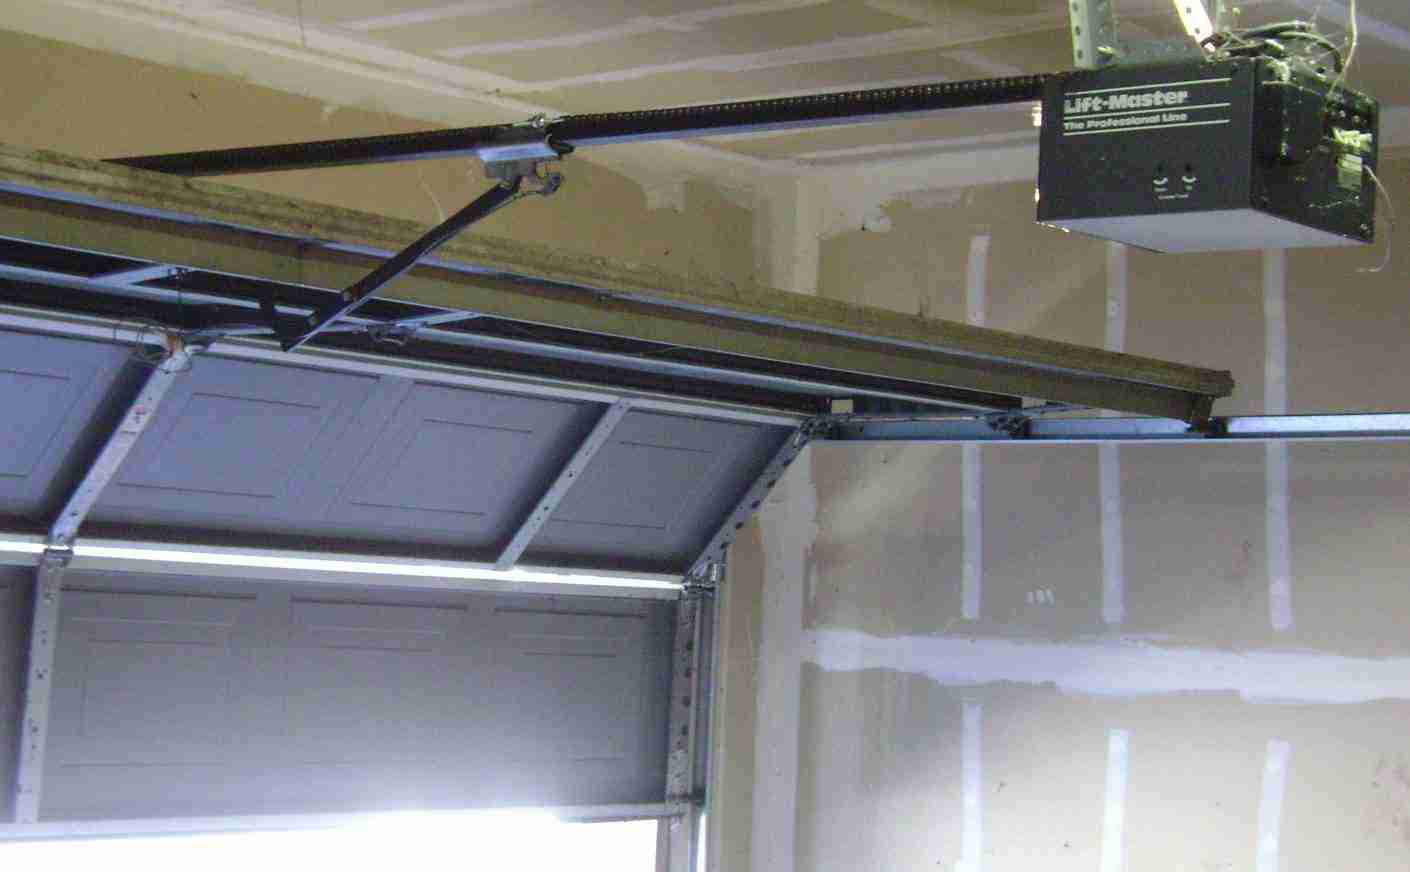
The garage door opener is the automated unit in your garage responsible for the opening and shutting of the garage door. However there are varied models and makes that come with different key positioning and details. Despite these differences the key idea is the same.
Step 1
Do a long punch on the Program key until the LED light comes on. You might have to do a repeated punch of the Program key again to get to the right menu interface for programming a remote, depending on what model you own. Flashing LED lights are signals that your opener is ready for the reprogramming process of your remote.
Step 2
Punch then relax your hold on the remote key you intend to use. Do this several times.
Step 3
Make use of the key to control the door.
Programming a Wireless Keypad
It is advised that you bring the wireless keypad close to your opener along with your remote to save time. These specifics are for Destiny and Odyssey openers and just in case your overhead door opener is of a different model, then kindly check the instruction handbook.
Keypad Programming
Step 1
Punch then hold the Program key, 6, and Up/Down key in succession. When the lights on the keypad go off, let go of your hold on the all three
keys.
Step 2
In succession, press and let go of the keys: 3, 5, 7 then program. The flashing of the LED light should now be visible.
Step 3
Punch in your preferred PIN which should be between three and eight digits. Then press the Program key. The LED lighting should flash two times.
Opener Programming
Step1
On the opener, punch and hold Program until the LED lights go on.
Step 2
Then let go of the key and one LED light should stay lit.
Step 3
To get to the programming menu, punch and let go of the Program key again and the LED light should begin to flash.
Step 4
Take your remote and punch the key already programmed to the opener. A second LED light will begin to flash.
Finally, punch in your PIN into the wireless keypad and punch the Up/Down key. The LED lights on the opener should shine bright, then punch the Up/Down key on the keypad again to set up the programming.
Above all, ensure you keep your garage door opener instruction guide within easy reach. The programming steps for your door opener and accessories will also come in useful, along with a troubleshooting directory in case of an impromptu eventuality.
Hurray! You are now tech-savvy and you can successfully program your garage remote. Take note that the above mentioned are universal recommendations just in case you discover that your garage door motor has a varied system of garage door remote reprogramming.


No Comment