


How to Clean Car AC Evaporator Without Removing
Did you know that the inside of your car can be dirtier than even the outside? In this article, you’ll learn how to clean car AC evaporator without removing it.
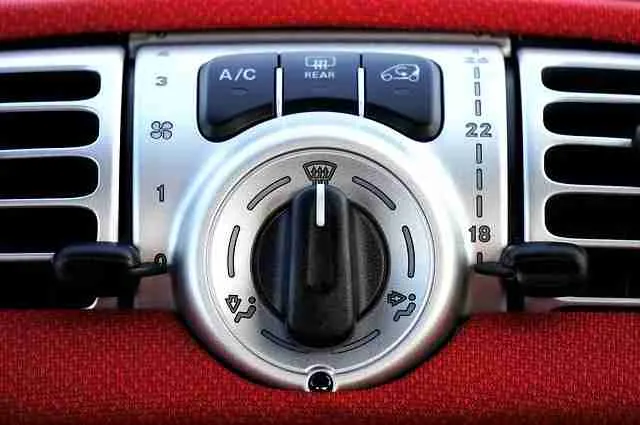
This is exactly why over the recent past, manufacturers have had to come up with an efficient way of improving the cabin air filters and the air ducting systems of their new brands.
With the AC evaporator, there is a build-up of a wet environment that encourages the survival of bacteria in the mold and mildew that collect as a result of wetness on the evaporator when humid air is passed through.
You realize this could be dangerous when they get back to the sir system. This contamination should, therefore, be cleaned regularly.
It’s important to regularly take out time to clean your car AC evaporator as needed. If not, the problem will build up and get out of control.
For the cleaning process, you need some items to get the job done.
Here are some of the important items you need for the job
- An electric drill
- A water hose
- An Ac evaporator cleaning solution
- RTV silicone cleaner
- A screwdriver
- 3/8-inch drill bit
How to Clean Car AC Evaporator Without Removing It
Inspect your vehicle’s air conditioning system
By doing this, you are already trying to access the evaporator assembly. You will find this on the firewall that separates the engine compartment from the passenger area.
The plastic-encased box that protrudes from the firewall has the heat blower attached to it. Removing this could be the easiest way to reach the evaporator core.
Accessing the car evaporator core
In most vehicles, this part entails a resistor block mounted on either the top or side of the heater box. You may either remove this for quick access or removing the blower fan could also be access to the evaporator core.
Alternatively, you can drill a 3/8-inch hole between the evaporator case and the blower fan, taking care to avoid damage as this hole is to be sealed later.
We propose that this becomes the last of your options. Basically, we are trying to access the evaporator core without having to remove the whole system.
Spray the cleaner through the access you made
After accessing the evaporator core, it’s time to actually rid it of the contamination. Now, through the access point made, direct the cleaner spray towards the evaporator core. Make sure that you cover the whole evaporator core surface.
Most of these cleaners come in foam to stick to the heater box surfaces which leaves them clean after the job is done.
After filling the whole area with the cleaner foam, leave it for about half an hour to let the foam perform its cleaning job. It is during this period that the foam will turn to liquid and flow out through drain openings.
Lightly rinse the area with clean water
After the liquid cleaner has flown out completely you will need to rinse the evaporator core cleaner switch clean water. This is where you shall employ the use of a water hose.
I would advise the use of light spray from a garden horse. Someone should keep watching to see that you don’t fill the inside of your car with the water.
Alternatively, use a spray bottle with clear water. This actually a better way to have this area cleaned as it gives your core an extra rinse especially if you are not comfortable with a hose.
Seal the heater box
After the cleaning process, it’s now time for everything to fall back to its rightful position. By this, I mean that you are to replace the blower fan if you removed it.
If you opted for drilling, you can use the RTV silicone from a tube to completely seal the opening.
However, you may need to clean this same area again. This time it’s going to be way easier. All you need to do is pick the dried silicone out with a pick or a screwdriver to access the core again.
Run your vehicle for about half an hour with your heater set to hot and the blower on it’s the highest setting to make sure the area dries completely.
Return the resistor block and fix it
At this point, you are now done with the inner part of the evaporator having cleaned the core, rinsed it and even sealed the heater box.
To finish up the job, you will have to replace the resistor block and fix it in the right position, giving the job the final touches having completely cleaned your car evaporator without removing it.
Safety Measures on How to Clean Car AC Evaporator Without Removing
When rinsing the evaporator core after cleaning it, ensure the water does not touch other parts of the system as it might be difficult to get them dry and they might damage the rest of the air conditioning system.
If you are to drill your way through the evaporator case, be careful not to damage the core. Preferably use a 3/8-inch bit on your drill as that would be a standard hole
Before replacing the resistor block, make sure the inside of your air conditioning system is dry by driving for about half an hour with the controls on the hottest to make sure the core dries.
Frequently Asked Questions
When should I clean my car evaporator?
You should try to take the filter out every six months to prevent dust and debris from sticking to the evaporator. If you know how to do it yourself, you should try and check them monthly to ensure there is no build of debris.
If you happen to find yourself at a car wash, ask them to spray your air condenser with water to push out any dirt. For maximum protection against mildew and build-up, get a professional cleaning done every few years, especially if you get a lot of use out of your AC.
Can I clean my car evaporator coil?
Yes, if you prefer to do it yourself instead of hiring someone. To clean your car evaporator coil, you should mix a mild detergent with warm water in a spray bottle and spray the solution onto your evaporator coils, however, make sure not to use a detergent that is too acidic.
There are also evaporation cleaner kits which will come with an aerosol can for you to use and also a gentle brush to move away all of the debris. If you’re not sure how to access your car evaporator coil then it’s best to leave it to a professional so you don’t damage anything.
How do I know if my AC evaporator is bad?
Some key signs of your AC evaporator being bad are:
- Your AC is no longer blowing cool air and the air coming from the AC is warm
- There is a strange smell coming from your AC when you’ve got it turned on
- Your AC won’t turn on at all
- Your AC suddenly turns off and on
- There is cool air coming from the evaporator is very weak
- There is a strange noise coming from the AC when it is turned on
If you notice any of these things, you should try to take your car to a garage or professional as soon as possible. If you’re not clued up on cars, then don’t try and fix it yourself unless you’ve been advised by a professional or found trusted advice online, you could risk making the problem worse.
What is the best evaporator coil cleaner?
The best evaporator coil cleaner is the Frost King ACF19, Nu-Calgon 4171-75, Lundmark Coil Clean, Qwik Products Coil Cleaner, and Lubegard 96030 Kool-It Cleaner.
How often should evaporator coils be cleaned?
They should be cleaned at least once a year, but more so if you live in a location where there is high pollution or dusty roads. If you’ve got an older car or if you’re in your car all day everyday, regular maintenance of your evaporator coils will help keep up the health of your car.
There is no harm in checking your evaporator coils every once in a while to make sure there is no sudden build-up of debris or problems you should be aware of.
How do you fix a leaking evaporator coil?
If you’ve got a leaking coil evaporator, you should enquire with a mechanic or professional as trying to fix it yourself requires a high level of skill. It will need replacing and if you’ve never done it before it can be a highly demanding task.
If it needs replacing, a new evaporator coil could cost you between $200 to $1500 depending on the brand and size of the one you need. It may even cost you even more if you require the labor to remove the old one and install the new one. So, this is a sign to take regular care of your AC system.
Can I use vinegar to clean AC coils?
Whilst having good disinfectant properties, it is not recommended to apply vinegar on your AC coils, especially white vinegar. White vinegar is harmful to humans when in vapor form so it would be better to opt for a mild cleaning detergent.
Vinegar won’t smell particularly great either and you’ll benefit more from using something with a milder odor. If you’ve got no other choice, you should water down your vinegar solution with lots of water to reduce the harmful vapor properties.
How long do evaporator coils last?
Evaporator coils should last around 10 to 15 years when they are regularly maintained, sometimes even longer. Without regular maintenance, the evaporator coils will decrease in quality and may cause issues with the AC system.
Evaporator coils can be damaged through accidents or defects from the manufacturer on production.
Conclusion
The AC evaporator holds the heart of the cleaning system of your car engine. For this reason, then, you have to keep it clean to give it a long time serving you.
We hope that this article will come a long way in aiding you to get your AC evaporator clean with minimum hitches. It is even better that you will have the whole system cleaned without having to disentangle much of the components or even removing the AC evaporator from its installation position.
This is why it was important to take your time and learn how to clean car AC evaporator without removing it


1 Comment
[…] clean your car battery terminals, you have to use materials that contain citric acid. You may be surprised to know […]