
The Ultimate Guide to Get the Best Headlight Clear Coat for your Car 2022
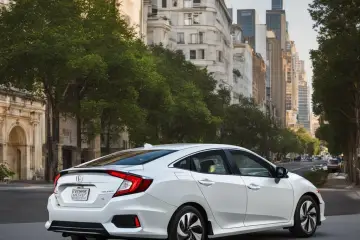
The average American drives up to 45 kilometers every day. But sometimes, especially in colder areas riddled with snow, a properly functioning set of headlights is a must-have for all drivers. Prolonged usage often causes certain defects in headlights.
As your car spends more time in the sun while being constantly exposed to radiation and wind, the headlights may dim over time. This leads to a yellow and dull tinge on the headlights, which degrades the aesthetic appeal of your car.
Cloudy or damaged headlights can be dangerous not only for you but also for the pedestrians walking by. This comprehensive guide will walk you through the basics of headlight maintenance and also recommend some of the best clear coat sprays you can purchase to keep your headlights in pristine condition.
Getting the Best Headlight Clear Coat: Top Products
The best method to ensure crystal clear headlights on your vehicle involves using a combination of two products: 1. A restoration kit 2. A Coating spray
Given below are some of the best coating sprays and restoration kits that you can get your hands on :
Wolfgang Uber Ceramic Coating
This is an easy-to-apply coating, specially designed to work with surfaces like glass, wheels, headlights, exterior plastic trims, etc. It measures the protection in years instead of weeks or months, showing how long-lasting and durable this polish is.
The company claims that it will last for 3 years on painted surfaces, 1 year on glass, and 2 years on wheels.
It gives a glossy finish to your headlights and also features a self-cleaning effect so that your headlight shines more and more after every wash. One single 15cc syringe can cover up to 3 average-sized sedans. It is 50 times thicker than the conventional car wax and gives unmatched protection against oil, dust, dirt, and road grime.
The complimentary applicator sponge that comes with the kit makes the application seem like a breeze. They also include a microfiber cloth so that you can make fine adjustments to your finish.
NASIOL ZR53 Car Ceramic Coating
This is a total car solution for cleaning your headlights!
It uses a multiplayer Ed formula which uses a hard layer on inner surfaces to provide good protection while being soft on the outside to avoid any scratches on rubbing. The coating implanted is hydrophobic; thus, it also prevents streaking. An extra layer of coating will also protect your surface from bugs, dirt, and UV rays.
Buy this product if you want to spend less time scrubbing and more time cherishing the bright view cast with the help of your crystal clear headlights. It comes with an applicator pad which is designed exclusively to work with NAISOL coating. Once you are done applying it, buff the surface with a microfiber cloth.
The cure time of the NASIOL ZR53 is around 48 hours. Not a quick fix for sure, but it does last long once it settles in. It is rated to last up to three years once applied and a minimum of 1 year of protection for rough use cases.
The only downside is that its extra-thick texture makes it really hard to correct the mistakes. Hence, be patient and slow when applying it.
Optimum Opti-lens Permanent Headlight Coating
This polish takes advantage of specifically engineered polymers to shield the polycarbonate layer of your headlights.
It is created using a mix of two non-abrasive resins to form a strong bond with your headlight. The first one is an acrylic resin that acts as a catalyst when bonding to polycarbonate. The second resin is ceramic, which can be commonly found in paint protection coatings.
These two create a long-lasting and sturdy bond over the surface of your headlights to protect it from environmental damage. Applying this polish is also quite easy. Firstly, wash and wipe the desired surface clean, followed by using a 15% isopropyl alcohol solution. This will remove any previously applied sealants and waxes.
Once you are through with this, apply a few drops on the foam applicator and coat each lens. Make sure that the coating is evenly spread throughout the surface. That’s all! You can now stay worry-free for a long time. The price of this product may ward off a few buyers, but the superior results are totally worth it.
Meguiar’s G17804 Keep Clear Headlight Coating
This spray comes with a spray can applicator and delivers consistent results every time we test it.
Once you clean the surface using a restoration kit, spray this coat over your headlights and let it sit for a few minutes, followed by gentle rubbing. The spray allows for fast application. A single 4 ounce can easily last for months.
Keep in mind that a clear coat will only be effective as long as you carry out the restoration properly. To help you with this, we have listed one of the best restoration kits in the market.
3M Headlight Lens Restoration System
Tired of dull headlights? Try 3M’s headlight restoration kit. The only extra thing you will require before starting is a standard household drill. This is a simple 4-step process.
One kit is intended to restore two headlight lenses and features their signature 3M abrasive technology, which helps restore dull and hazy headlights. It features the following products:
- Headlight Lens Restoration System (1 per case)
- Trizact Hookit M Foam Discs,
- Blending Disc,
- 3MTM Perfect-Ittm Foam Polishing Pad,
- Foam Buffing Pad
- Soft Interface Pad.
- Clean Sanding Disc Pad Kit, 3″ x 1/2″ x 5/16″
- Random Orbital Sander and Pistol Grip
- Purple Clean Sanding Hookit Disc
- 3MTM Rubbing compound and Machine Polish
- 3M Masking Tape
Guide to Cleaning Your Headlights Properly
Tools Required
- Microfiber towels
- Automotive masking tape
- Water
- Spray bottle
- Sanding block/ wooden block
- Polishing pads
Step 1: Clean the headlights of your car using some Decon soap and water. We do this to ensure that no dirt gets in the way of the wet sanding process, which will be carried out in the subsequent steps.
Step 2: Using some masking tape, cover the area around the headlights so that no water can get inside while cleaning.
Step 3: Soak the wet sanding paper in water and let it sit there for a couple of minutes.
Step 4: Take the 800-grit sandpaper and wet sand the plastic and foggy oxidized clear coat from the headlights. Keep spraying soapy water on the surface of your headlights so that the sandpaper stays lubricated at all times. Keep the pressure on the lighter side and after 8-10 repetitions, clean the residue and wipe the surface.
Step 5: Repeat step 4 using the 1500-grit sandpaper, followed by the using the 3000 grit. This should give a nice consistent haze throughout the surface.
Step 6: Take the microfiber applicator pad and apply 3-4 pea-sized drops of the automotive compound in circular motions on the surface. Continue this exercise till the wet sanding haze completely disappears. If you are using a machine (a 3-inch DA, for instance), then drop the compound on the polishing pad and repeat the same process.
Step 7: Once you have removed the wet sanding haze, polish the headlights in a circular motion using a microfiber pad. You can also add some reverse scratch remover if you want to add extra protection.
Step 8: Grab some alcohol solution and apply it to the polishing paper. Then clean the headlights and the surrounding areas using this to prep the surrounding areas for ceramic coating.
Step 9: Apply your coat in an overlapping cross-hatching pattern using a clean microfiber towel. Buff in the coating until you get the result you were looking for. You can also use wax or a UV film at this stage to get the job done.
Step 10: Remove the masking tape, and you are ready to rock!
Understanding The Materials Involved
Since cars are highly prone to scratches, their headlights are made of sturdy materials such as polycarbonate and a mix of various other scratch-resistant components. However, one major downside to using plastic is that it clouds over time when exposed to UV rays.
That said, most cars have removable headlamps that can be restored to their old condition effortlessly.
Types of Headlights & Deformities
- Tungsten Headlights: They are the most common and are fitted with a filament. This filament contains an inert gas with a halogen (preferably iodine). They have a warm yellow hue.
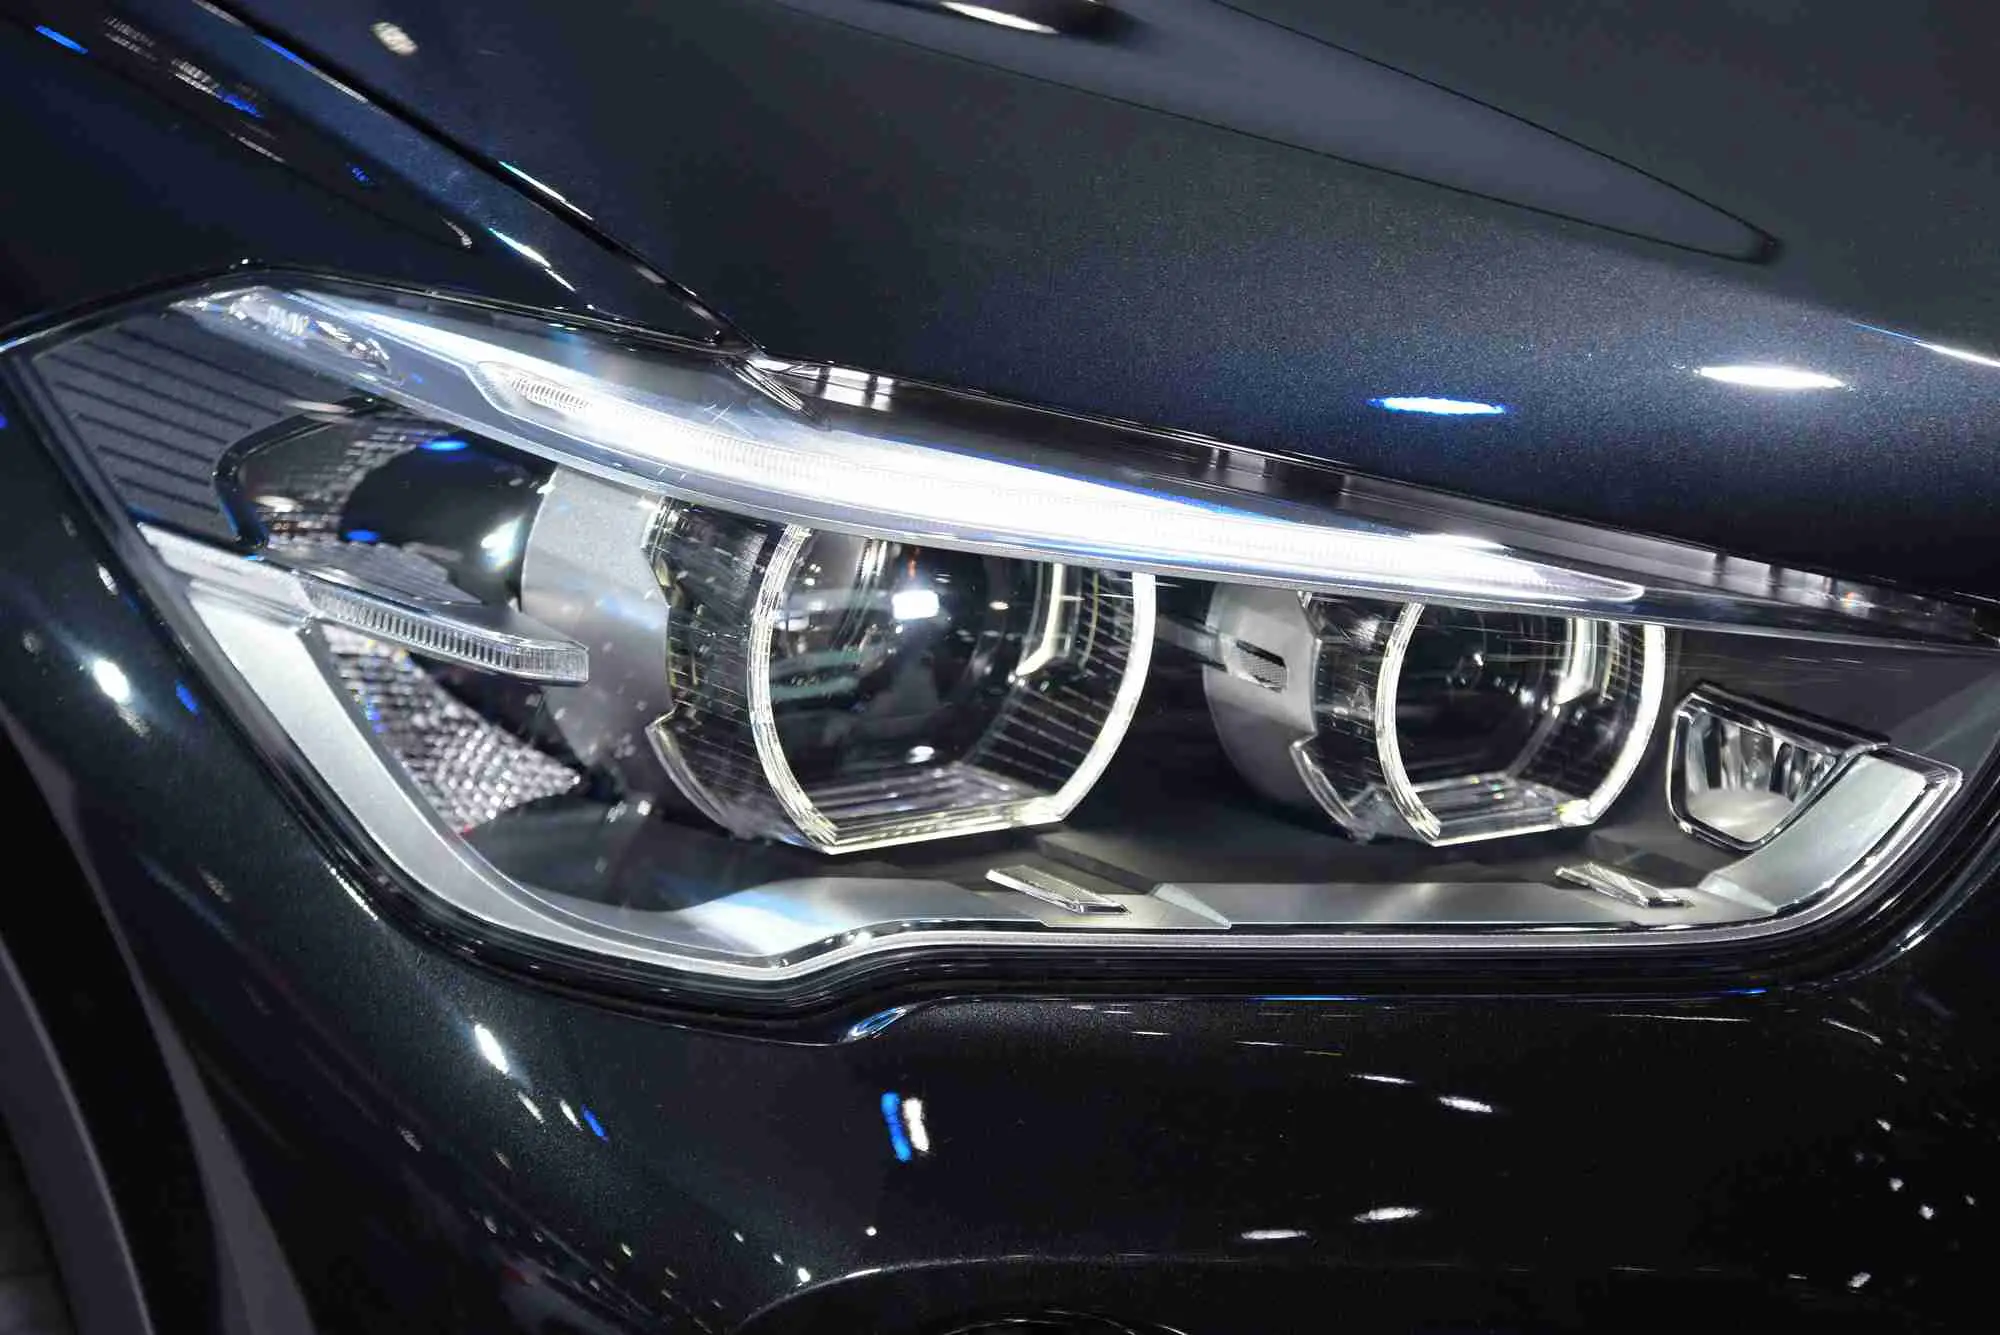
- LED Headlights: They are aimed towards the energy savers and typically last longer than other types. Since these lights are composed of small rings, their design is quite flexible and can be customized too. They have a bright white undertone.
- High-Intensity Discharge (HID) Headlamps: They are found in vehicles which are on the luxurious side and can be easily recognized due to their signature blue tinge. The only downside to having HID lamps is the glare.
Now let us look at some common issues that can be seen in headlights on a frequent basis :
- Yellowing of Headlights: This is primarily caused due to road salt and pollution. As the surface of your headlights age, UV rays begin to dissolve the plastic, giving it a yellow appearance.
Getting rid of yellow headlamps is relatively easier though, simply use sandpaper followed by polishing the surface. This method is also known as sanding. You can also apply a coat sealant on the top for additional protection.
- Foggy Headlights: This happens due to excessive sunlight exposure and grime build-up within the headlights. It can be fixed by wet sanding but always remember to mask the surrounding area so that any moisture does not get inside.
- Scratches: Scratches that have occurred on the surface level can be easily filled by a good polish which can fill in the gaps. But major scratches and cracks can only be removed if you replace the headlights altogether.
You can minimize the chances of your car headlights getting scratched by using a scratch-resistant compound regularly.
- Electrical Failures: This issue, although less common, occurs due to the loosening of the internal wiring, which leads to the flickering of lights. It can be taken care of by a service professional.
Common Methods for Cleaning Car Headlights
Home Remedies
This can be administered in case of yellowing and fogging of lamps. The most common method entails the usage of toothpaste. Take some toothpaste on your fingertips and apply it inside the plastic bonnet. Brush it over the surface while moving your hands in a circular motion. Once you have removed all the grit from the crevices, rinse with water to get a clear-looking headlight.
The second remedy requires a mix of baking soda and vinegar. Mix these two ingredients and apply the paste onto your headlights using a microfibre cloth. Rinse and repeat until the yellow tinge disappears. Top it all off by deploying a layer of wax on the surface for extra protection.
Many people also use bug sprays to get rid of yellowing. However, these sprays can deteriorate the polycarbonate layer of your headlights and are usually not recommended by experts.
Restoration Kits
These kits are ideal for those who are looking for a quick fix for a small-scale problem. We have listed some of the best restoration kits above that you can consider. A good combo will include multiple products which can protect the exterior of your car.
Some automobile stores and dealers also offer a protective lens treatment.
This comes with a set of products that can be applied to the lamps to prevent yellowing and scratching.
Maintenance Tips Post Cleaning
- Avoid replacing only one bulb whenever they start to dim. This can create some parallax for both you and other drivers since the new light will be brighter than the other one.
- Clean your car’s headlights on a regular basis and keep it free from any road debris.
- Use an industry-grade wax on the exterior of your lights at least once a week to fortify the protective layer on top.
Frequently Asked Questions
Why do headlights oxidize?
Much like your car’s paint, headlights also come with a protective coating from the factory when you purchase them.
As you use them, they take a constant beating from the likes of external agents such as UV rays, dirt, physical abrasion, etc. This causes the plastic to oxidize and develop a yellow color.
Clear Coat vs. Ceramic Coating – what’s better?
Clear coating is standard practice when it comes to defogging headlights. But it has one major drawback: the coat starts to chip off and fall after a few months of usage. Even waxing them provides protection for a few months only.
On the other hand, ceramic coating shows long-lasting results and adds a semi-permanent barrier of protection that lasts for years. One more recent trend is the application of UV films to prevent any oxidation from occurring.
It does, however, require some skill for application and is not easily available in stores.
Another way for a quick (but temporary) fix is the usage of WD40. This is a silicone-based lubricant that fills in the pores of oxidation and gives your surface a smooth finish. It only lasts for 2-3 weeks on average.
How can I restore glass headlights found on classic cars?
- Clean the surface of your headlights using a microfiber towel.
- Tape the surrounding area using automotive masking tape. Make sure to cover the edges of all chrome and plastic pieces to avoid any damage caused by sanding.
- Apply some drops of a high-quality polish and use an automated polishing pad for 3-5 minutes.
- Now that your headlights look clear, apply a layer of protection in the form of wax or a sealant.
How can I know if my headlights are aligned properly or not?
To do this, park your car near a wall and switch the lights to a low beam. Once you have done this, use masking tape to mark where the centreline appears on the wall. Now repeat the same process with the ‘bright’ setting switched on.
Back up your car to 25 feet and repeat the above process for low and high beams as well. If the mark that you have made this time falls roughly two inches below the initial mark, then it means that you have adjusted your headlights properly.
If not, you can adjust the lights and fixtures by simply using a screwdriver till the mark reaches its desired position.
Conclusion
All the clear coats listed above perform quite well and will keep your headlights looking bright and shiny for a long time. When picking up a clear coat for yourself, make sure it comes with a 1-year protection rating to ensure longevity.
As for the headlight restoration methods, we would recommend that you purchase the prerequisites listed above and carry out the step-by-step process instead of spending hundreds of dollars on a new pair of headlights.
We hope this article provided some value and answered the questions you had in mind. Thanks for keeping up!


No Comment