


How to Paint Aluminum Rims Black
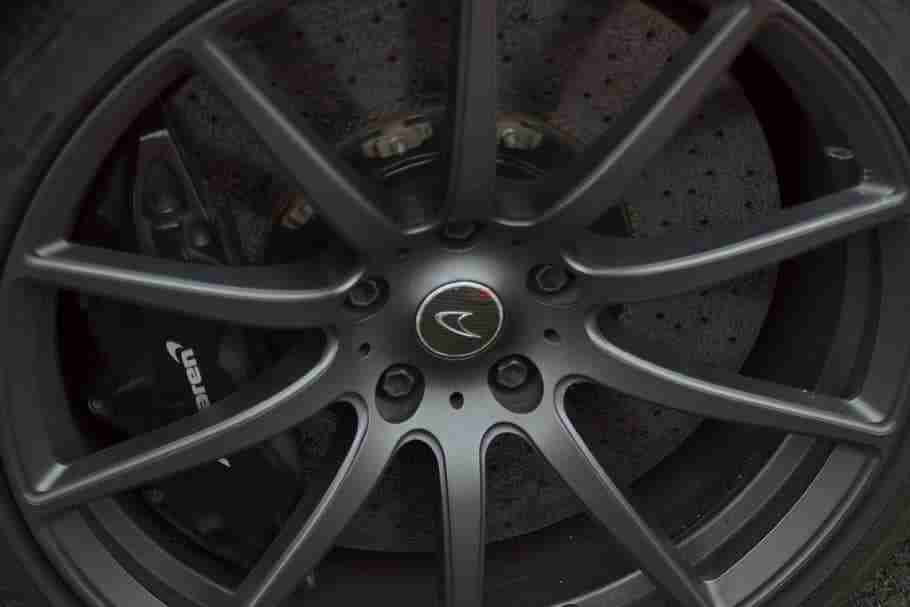
You want to give your vehicle a fresh, new look but don’t have the money to afford an expensive paint job. One cost-effective option is to paint the vehicle’s aluminum rims black. Going from the standard silver color to a deep, inky black will make your wheels stand out and give your car a sleek, fresh look.
10 Steps to Paint Aluminum Rims Black
Even if you’ve never painted before, you won’t have any problems if you follow these simple steps.
- Get the materials together
You will need a few items if you want the paint job to look professional and last for years. Some materials you might already have and others you can find at almost any auto parts store.
- Wheel cleaner or degreaser
- Clean rags
- Wire brush
- Sandpaper – look for packs with varying grits
- Steel wool pad
- Rubbing alcohol
- Painters tape
- Plastic or newspaper
- Primer – preferably self-etching
- Metal spray paint
- Clear coat
Even if you have to purchase everything on the list, it will still be significantly cheaper than having the rims professionally painted.
- Figure out where you’re going to paint the rims
There are a few aspects to consider when you’re deciding where to paint the rims. You will be using metal spray paint which releases toxic fumes so ventilation is important. Dust particles can stick to wet paint, which means you want to use a relatively clean area. This also applies to pollen particles that can be a problem outside, especially on windy days.
If you can, the garage with the door open is a good place to get to work. Your driveway is also fine, as long as it’s a clear day without any wind.
- Remove the rims from your vehicle
Don’t even consider leaving the rims on to paint them. No matter how careful you are, residue paint from the spray can get on the vehicle. You could cover the entire car with a protective cloth or plastic but it will be faster and easier to remove the rims.
It only takes a few minutes to remove the wheels. Simply loosen the bolts and pop the wheels off. Most vehicle safety kits come with the necessary tools. You can also pick up what you need at an auto parts store.
- Clean the wheels
The most important step is cleaning the rims. This doesn’t mean just hosing the rims down, but getting down and scrubbing them. Spray the wheels with cleaner or degreaser and use the rags to remove the grease and debris. After you’re finished, rinse the wheels off and dry with a clean old towel or rag.
If you don’t clean the rims first the debris will be visible under the paint.
- Remove rust and paint chips
Over time aluminum rims can start to rust. Paint flecks can also get stuck on them. If you want a smooth, even paint job you’ll have to scrape/scrub the rust and paint off.
Using the wire brush, start scrubbing at the debris. You want to make sure that you are getting into the tighter spaces. If you are lucky enough to own a wire brush attachment for a drill, this can shorten the amount of time you spend scrubbing at stubborn rust.
When you’re finished using the wire brush, switch to 300 and then 500 grit sandpaper. You want to ensure that all of the debris is gone. After sanding, take the steel wool pad and rub it over the rim until the surface is completely smooth.
Finally, rinse the wheel off and wipe it down with rubbing alcohol – paint thinner is also effective. If the rim isn’t completely smooth, go back over the rough spot with the wire brush or sandpaper.
- Protect the valve stem and tire from overspray
When the rim is clean, smooth, and dry it’s time to cover the tire and valve stem from overspray. Using the newspaper or plastic to completely cover the tire, leaving the rim clear. The painter’s tape will hold the covering in place while you’re painting.
It is important to cover the valve stem to prevent paint from clogging the opening. If the opening is clogged, you won’t be able to put air in the tire when it gets low. Instead, you will have to buy a new or slightly used tire.
You also want to cover the area you’ll be painting over.
- Prime the rims
You don’t want to skip this step. The primer helps the paint adhere to the aluminum surface. It will take 2 or 3 coats of primer, just make sure that you let it completely dry before spraying again.
- Paint the rims
When the coats of primer are dry, take the metal spray paint and cover the rims. For best results, use a ‘back and forth’ motion when spraying. This will help ensure even coverage. You will need to apply at least two coats for complete coverage.
- Apply the top coat
To give the rims a finished, professional appearance apply one or two layers of top coat to the dry paint. Like with the other layers, make sure each one is dry before adding the next one.
- Remove protective coverings and reinstall the wheels
When the paint is completely dry, remove the protective plastic or newspaper from the wheels and reinstall them on the vehicle. Make sure the all of the nuts and bolts are securely tightened.
Conclusion
You can give your vehicle a new look without spending a lot of money. You can also do it yourself in an afternoon. With a few items and a little elbow grease, you can give your rims a paint job that professionals will envy.
Just remember that the most important step is cleaning the rims. Once this is done, spray them with black paint, let dry, and go show off your car’s new look to family and friends.


No Comment